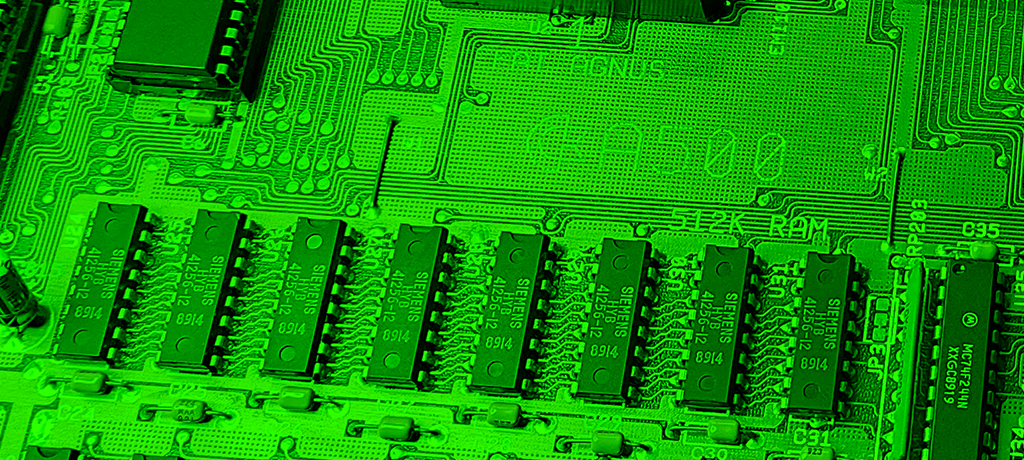
I got this Amiga 500 Revision 5 computer in a non-working state. The initial problem was a black screen. After reseating the AGNUS chip, the machine displayed a green screen. A green screen usually indicates bad RAM.
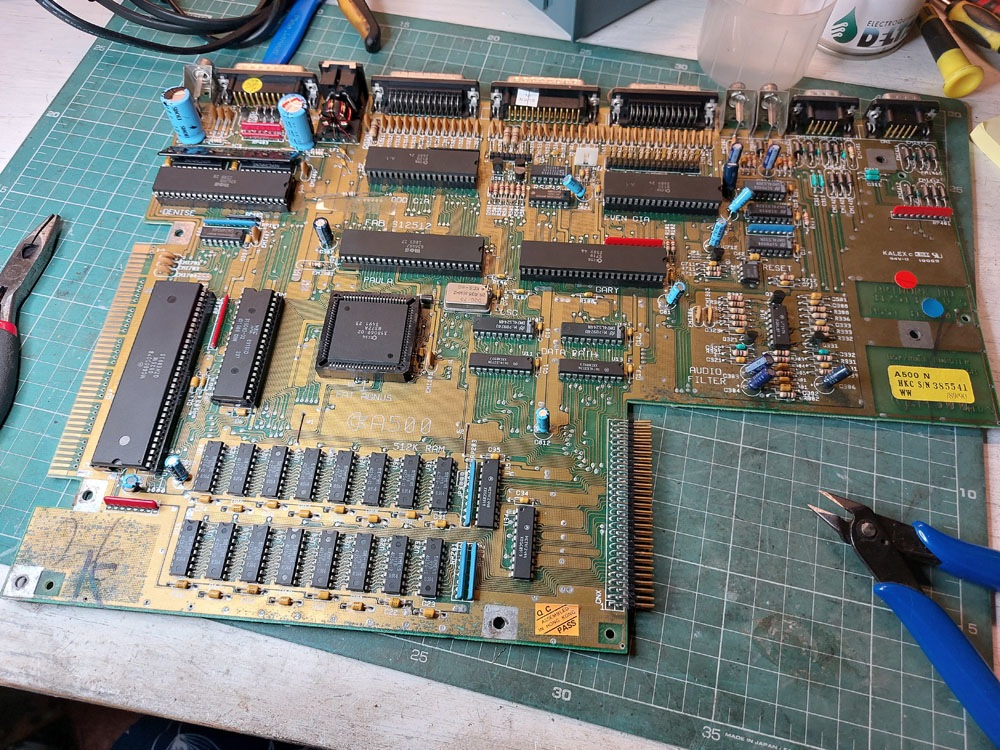
The first thing I tried was burning an EPROM with DIAGROM and fitting it into the ROM socket using an adapter for Revision 5 motherboards. DIAGROM couldn’t display anything on the screen via the RGB video output, so I connected another computer to the Amiga using a serial cable. With this method, DIAGROM output indicated that the chip RAM was faulty. However, since there are 16 RAM chips soldered to the PCB, I still needed to identify which specific ones were bad.
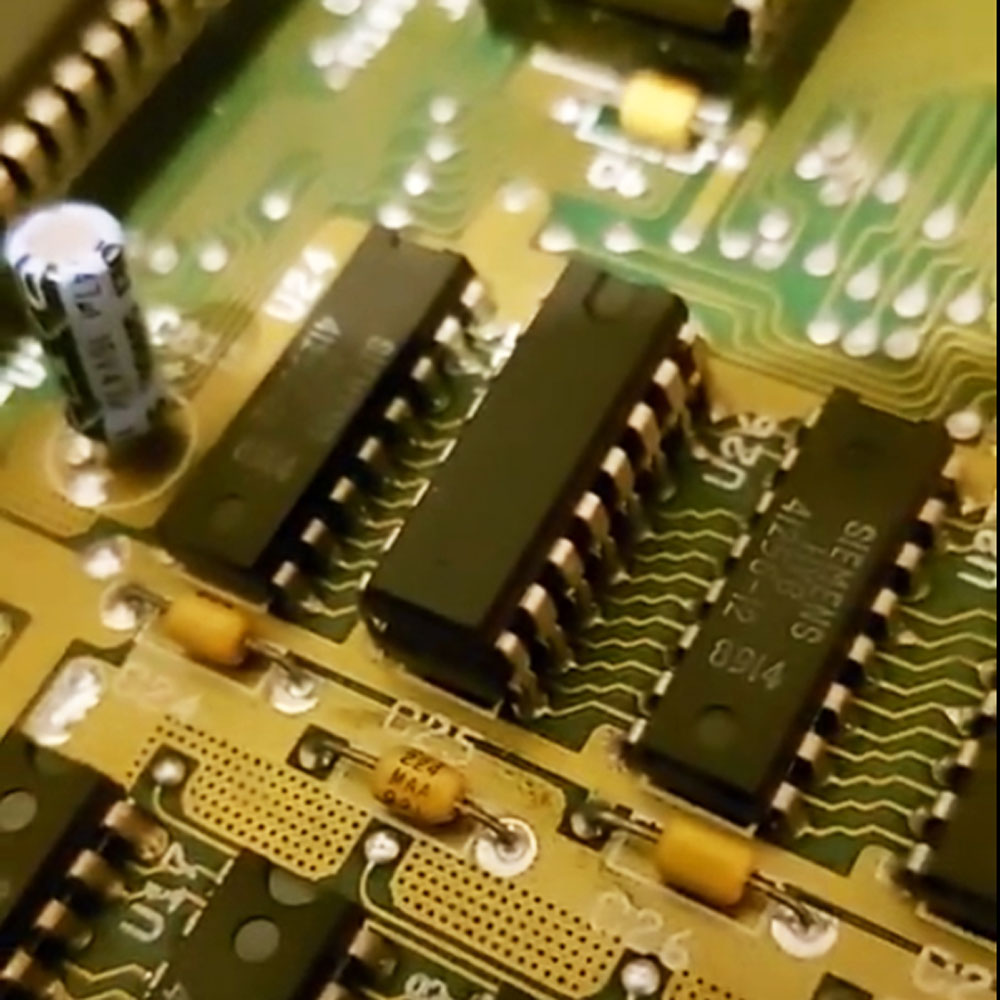
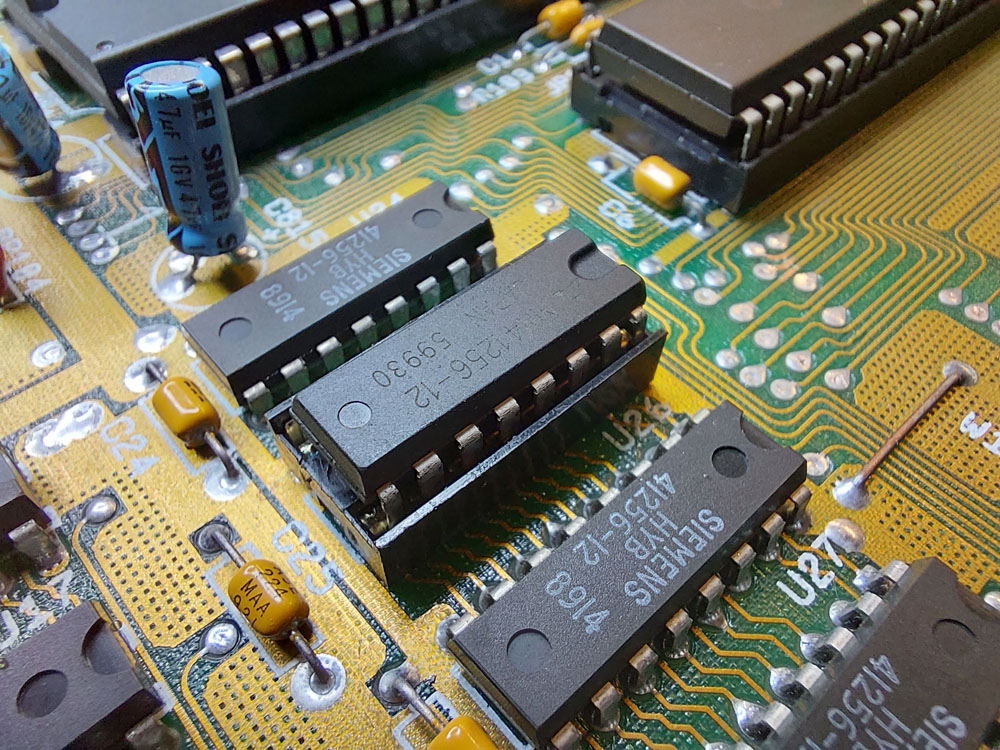
I tried the “piggyback” method, which involves placing a new chip directly on top of an existing one. In this case, I placed RAM chips on top of each of the soldered ones. After adding all 16 chips, the green screen disappeared, showing random patterns on the screen.

I then proceeded to remove the piggyback chips one by one until the green screen returned. Upon removing all the piggyback chips except the one that caused the green screen, the Amiga finally booted into the Workbench prompt.
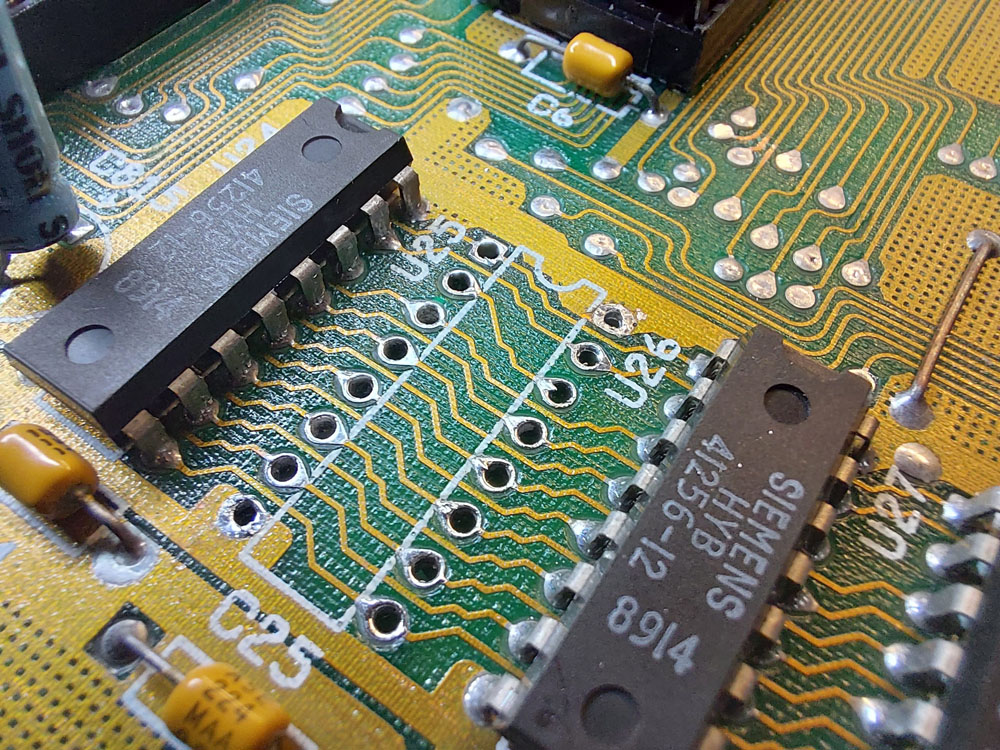
With the defective chip identified, I cut its legs for easier removal. After installing a new socket and replacing the faulty RAM IC, the problem was fixed.
Leave a Reply